In 2018 I went on a two week trip to Portugal with my dear friend Anna. We spent a few days in Lisbon, some magical days in Porto (one of my favourite cities I’ve ever been to!), a few days in Lagos and then returned back to Lisbon for a night. The whole trip was amazing - we ate so many pasteis de natas (top 3 favourite desserts!), drank so much delicious wine, and ate at some amazing restaurants.
One of my favourite restaurants we went to twice was an Argentinian restaurant (Cafe Buenos Aires) set on stairs up one of the hills in Lisbon, with a beautiful view of the city. We ate these fried broad beans with an unreal dipping sauce that I will never forget. We also shared a steak that was topped with a bright, acidic chimichurri and came with a side dish of beautiful dijon mustard - a perfect pairing of French and Argentinian flavours. The only picture I have of the plate is very blurry but I’ll never forget those flavours.
This recipe is inspired by the flavours of that chimichurri, the classic Portuguese peri-peri chicken, and my mom and grandmother’s roast chicken preparation with stewed potatoes cooking under the chicken. Method wise, I was inspired by Feasting at Home’s Portuguese Chicken and Crispy Potatoes, adapting to a more “stewed” approach.
A few notes:
Spatchcocking the chicken
Ok I know this looks scary but it’s actually way easier than it looks and it makes for the best roast chicken. It cuts down on your cooking time drastically and also helps the chicken cook more evenly. I prefer to use kitchen shears to cut out the spine but you can also do this with a sharp chef’s knife. Here’s a video on how to spatchcock a chicken (+ a British accent!).
Rub the marinade under the skin
This marinade I use for chicken all the time, works on any cut! It’s a riff on peri-peri chicken, adding in dijon mustard and swapping in smoked paprika. The key to imparting tons of flavour in a short period of time is to put the marinade *under* the skin of the chicken. You can just lift the skin by running your fingers underneath and then pushing in the marinade. A little messy but worth it!
Keep the peels on your potatoes and add some broth for extra moisture
These aren’t going to be crispy potatoes, but more stewed, fall apart tender potatoes, which is why I recommend keeping the peels on - it helps hold them together. The flavour of the chicken drippings and chicken fat bake into the potatoes, making them addictingly good. The chicken broth helps get them started. I like doing a combo of sweet potato and regular potato but either works!
Keep the stalks on your parsley!
Chimichurri is a herby, acidic condiment popular in South America, originating from Argentina. It pairs really well with grilled meats, but also brings a ton of brightness and flavour to a dish like this, that is stew-y, roasty, and a little spicy. A lot of chimichurri recipes also use oregano, but I kept this to one herb. Since you are whizzing the parsley in a food processor, I keep the stalks on. There is so much flavour in soft herb stalks, no need to waste them!
Use a Meat Thermometer
Whole chickens come in a range of sizes and the length of time to cook depends on size, and how cold the chicken is before you put it in the oven. If it’s fresh from the fridge, it’s going to take longer to come to temperature than one that’s been sitting at room temperature for 30 mins. The best way to know if your chicken is done is by using a meat thermometer. This is my favourite one, just $15 on Amazon. Another tell-tale sign is if the bones fall apart easily from each other - for example if you can pull off the leg without much effort.

For me, this is the perfect Sunday supper. Tons of flavour, easy to prepare, and plenty of food for however many people are around your Sunday table. I hope you enjoy it!
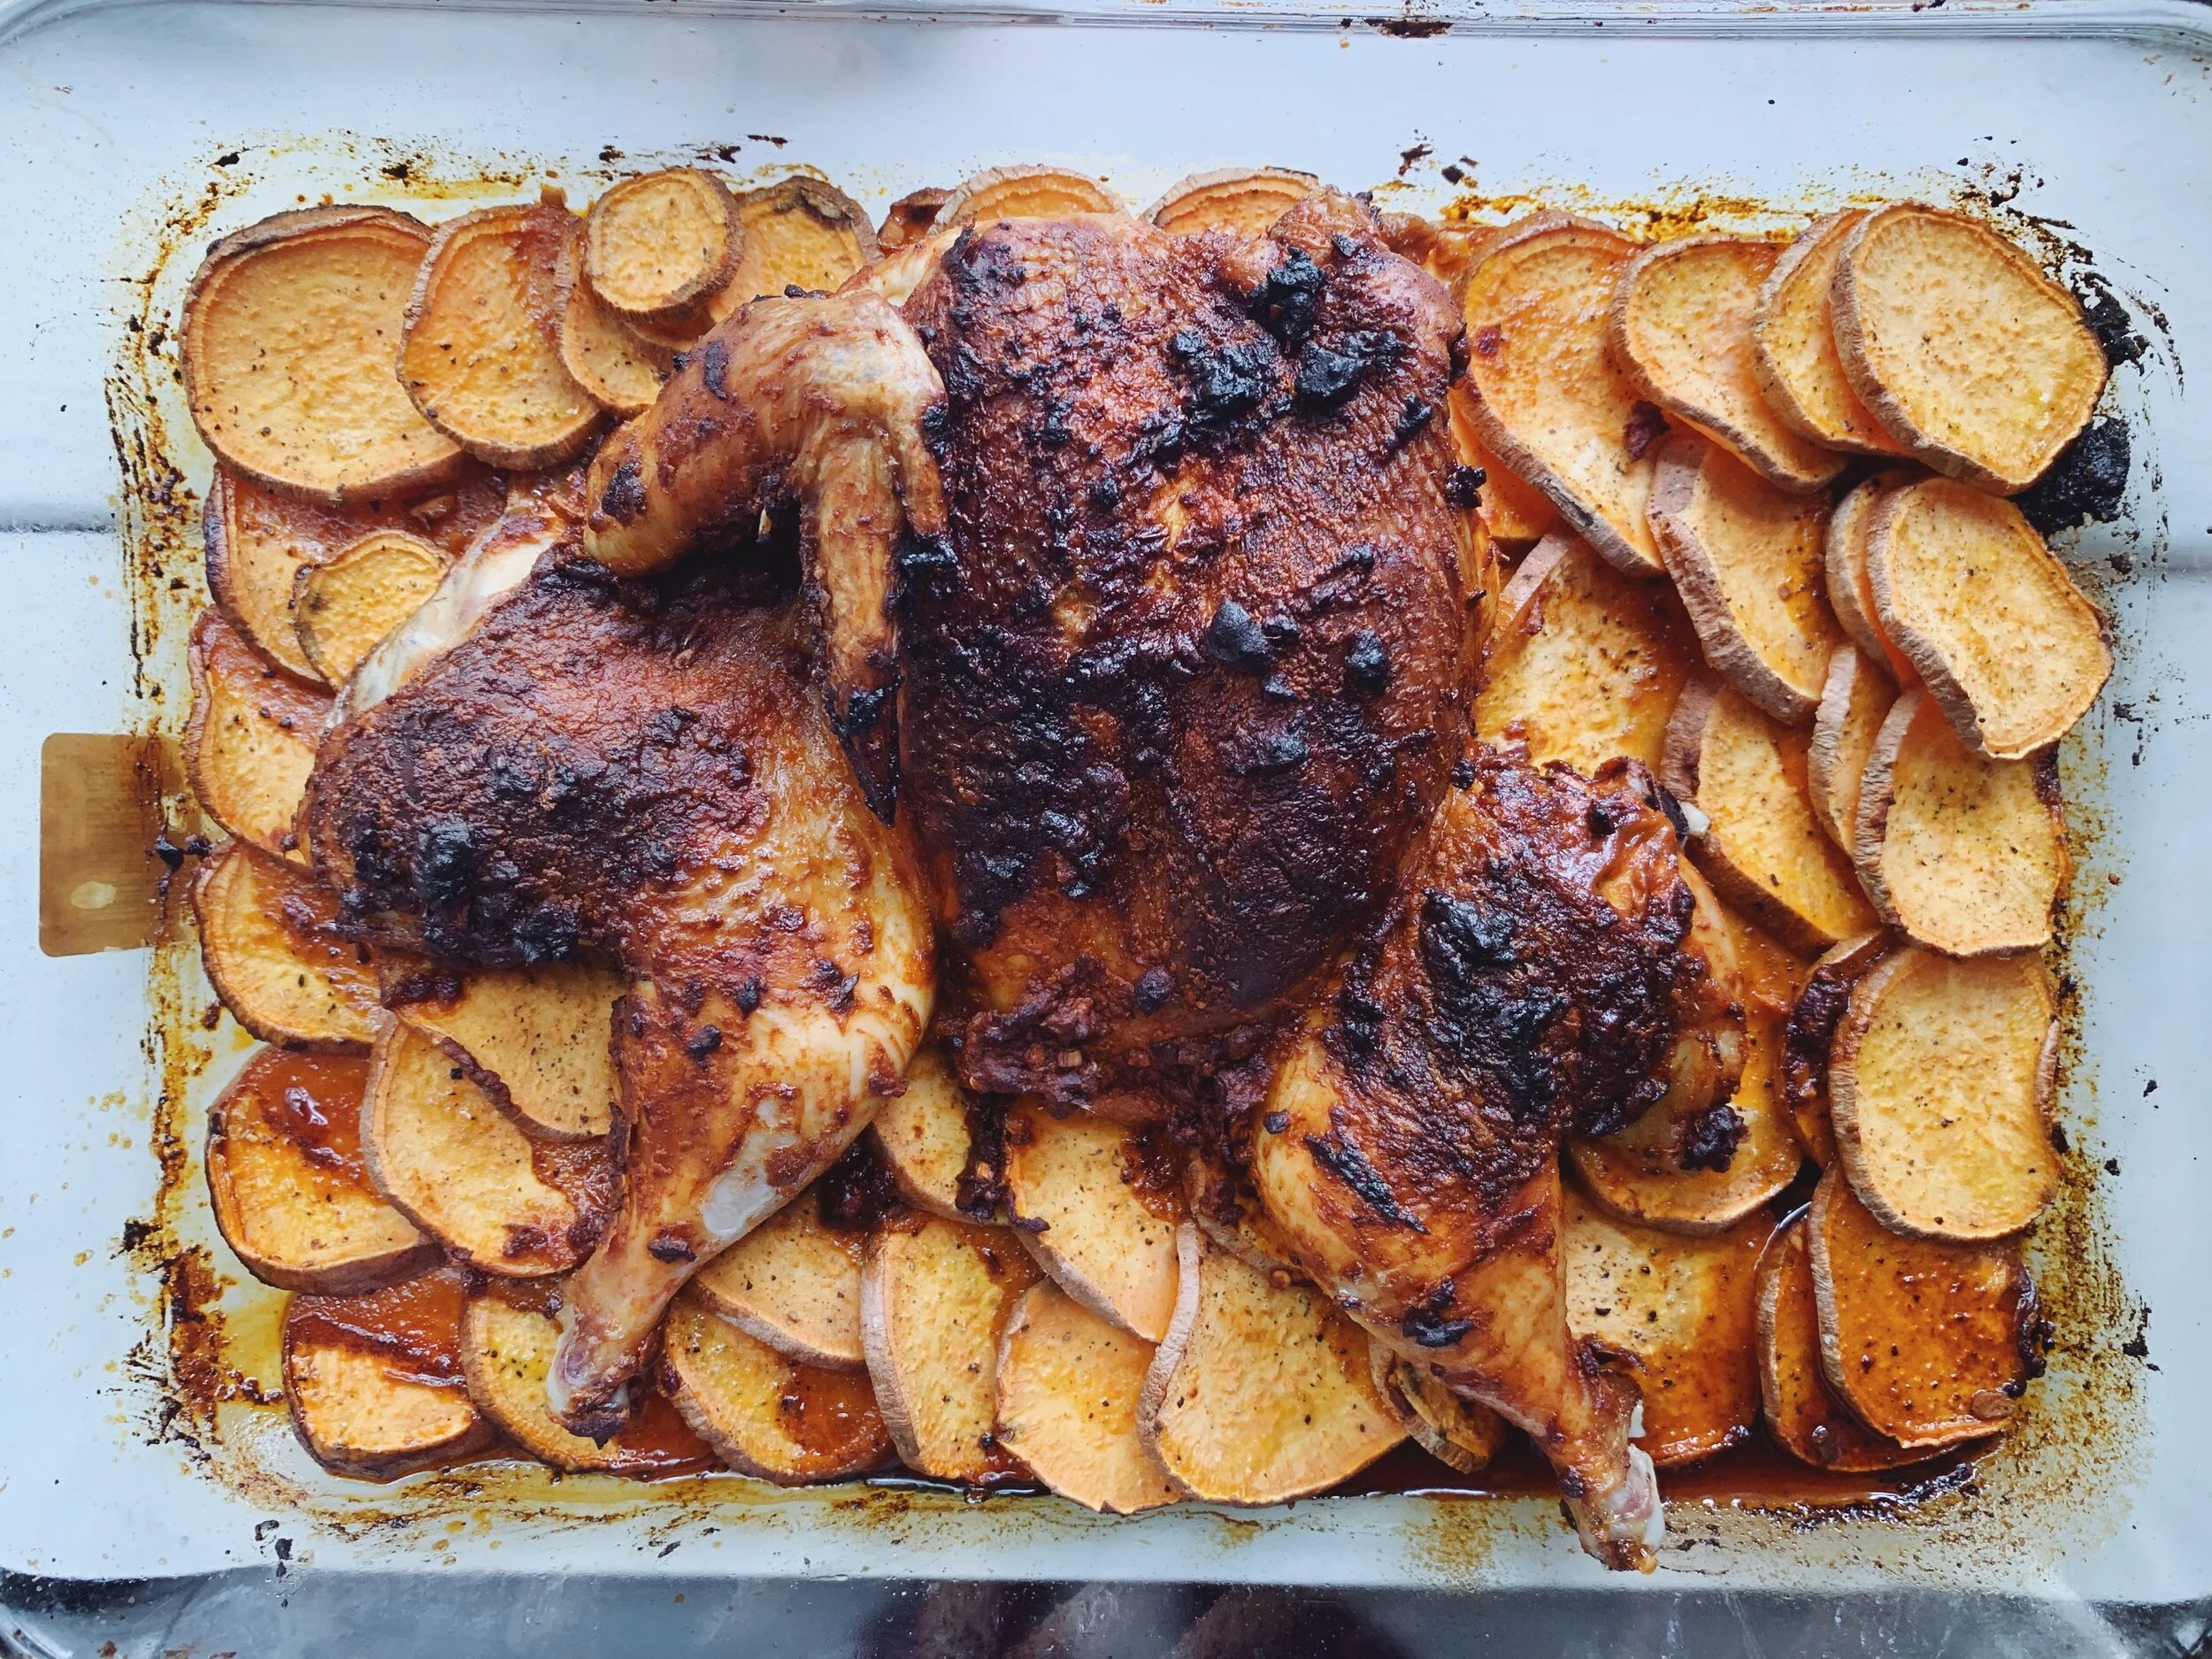
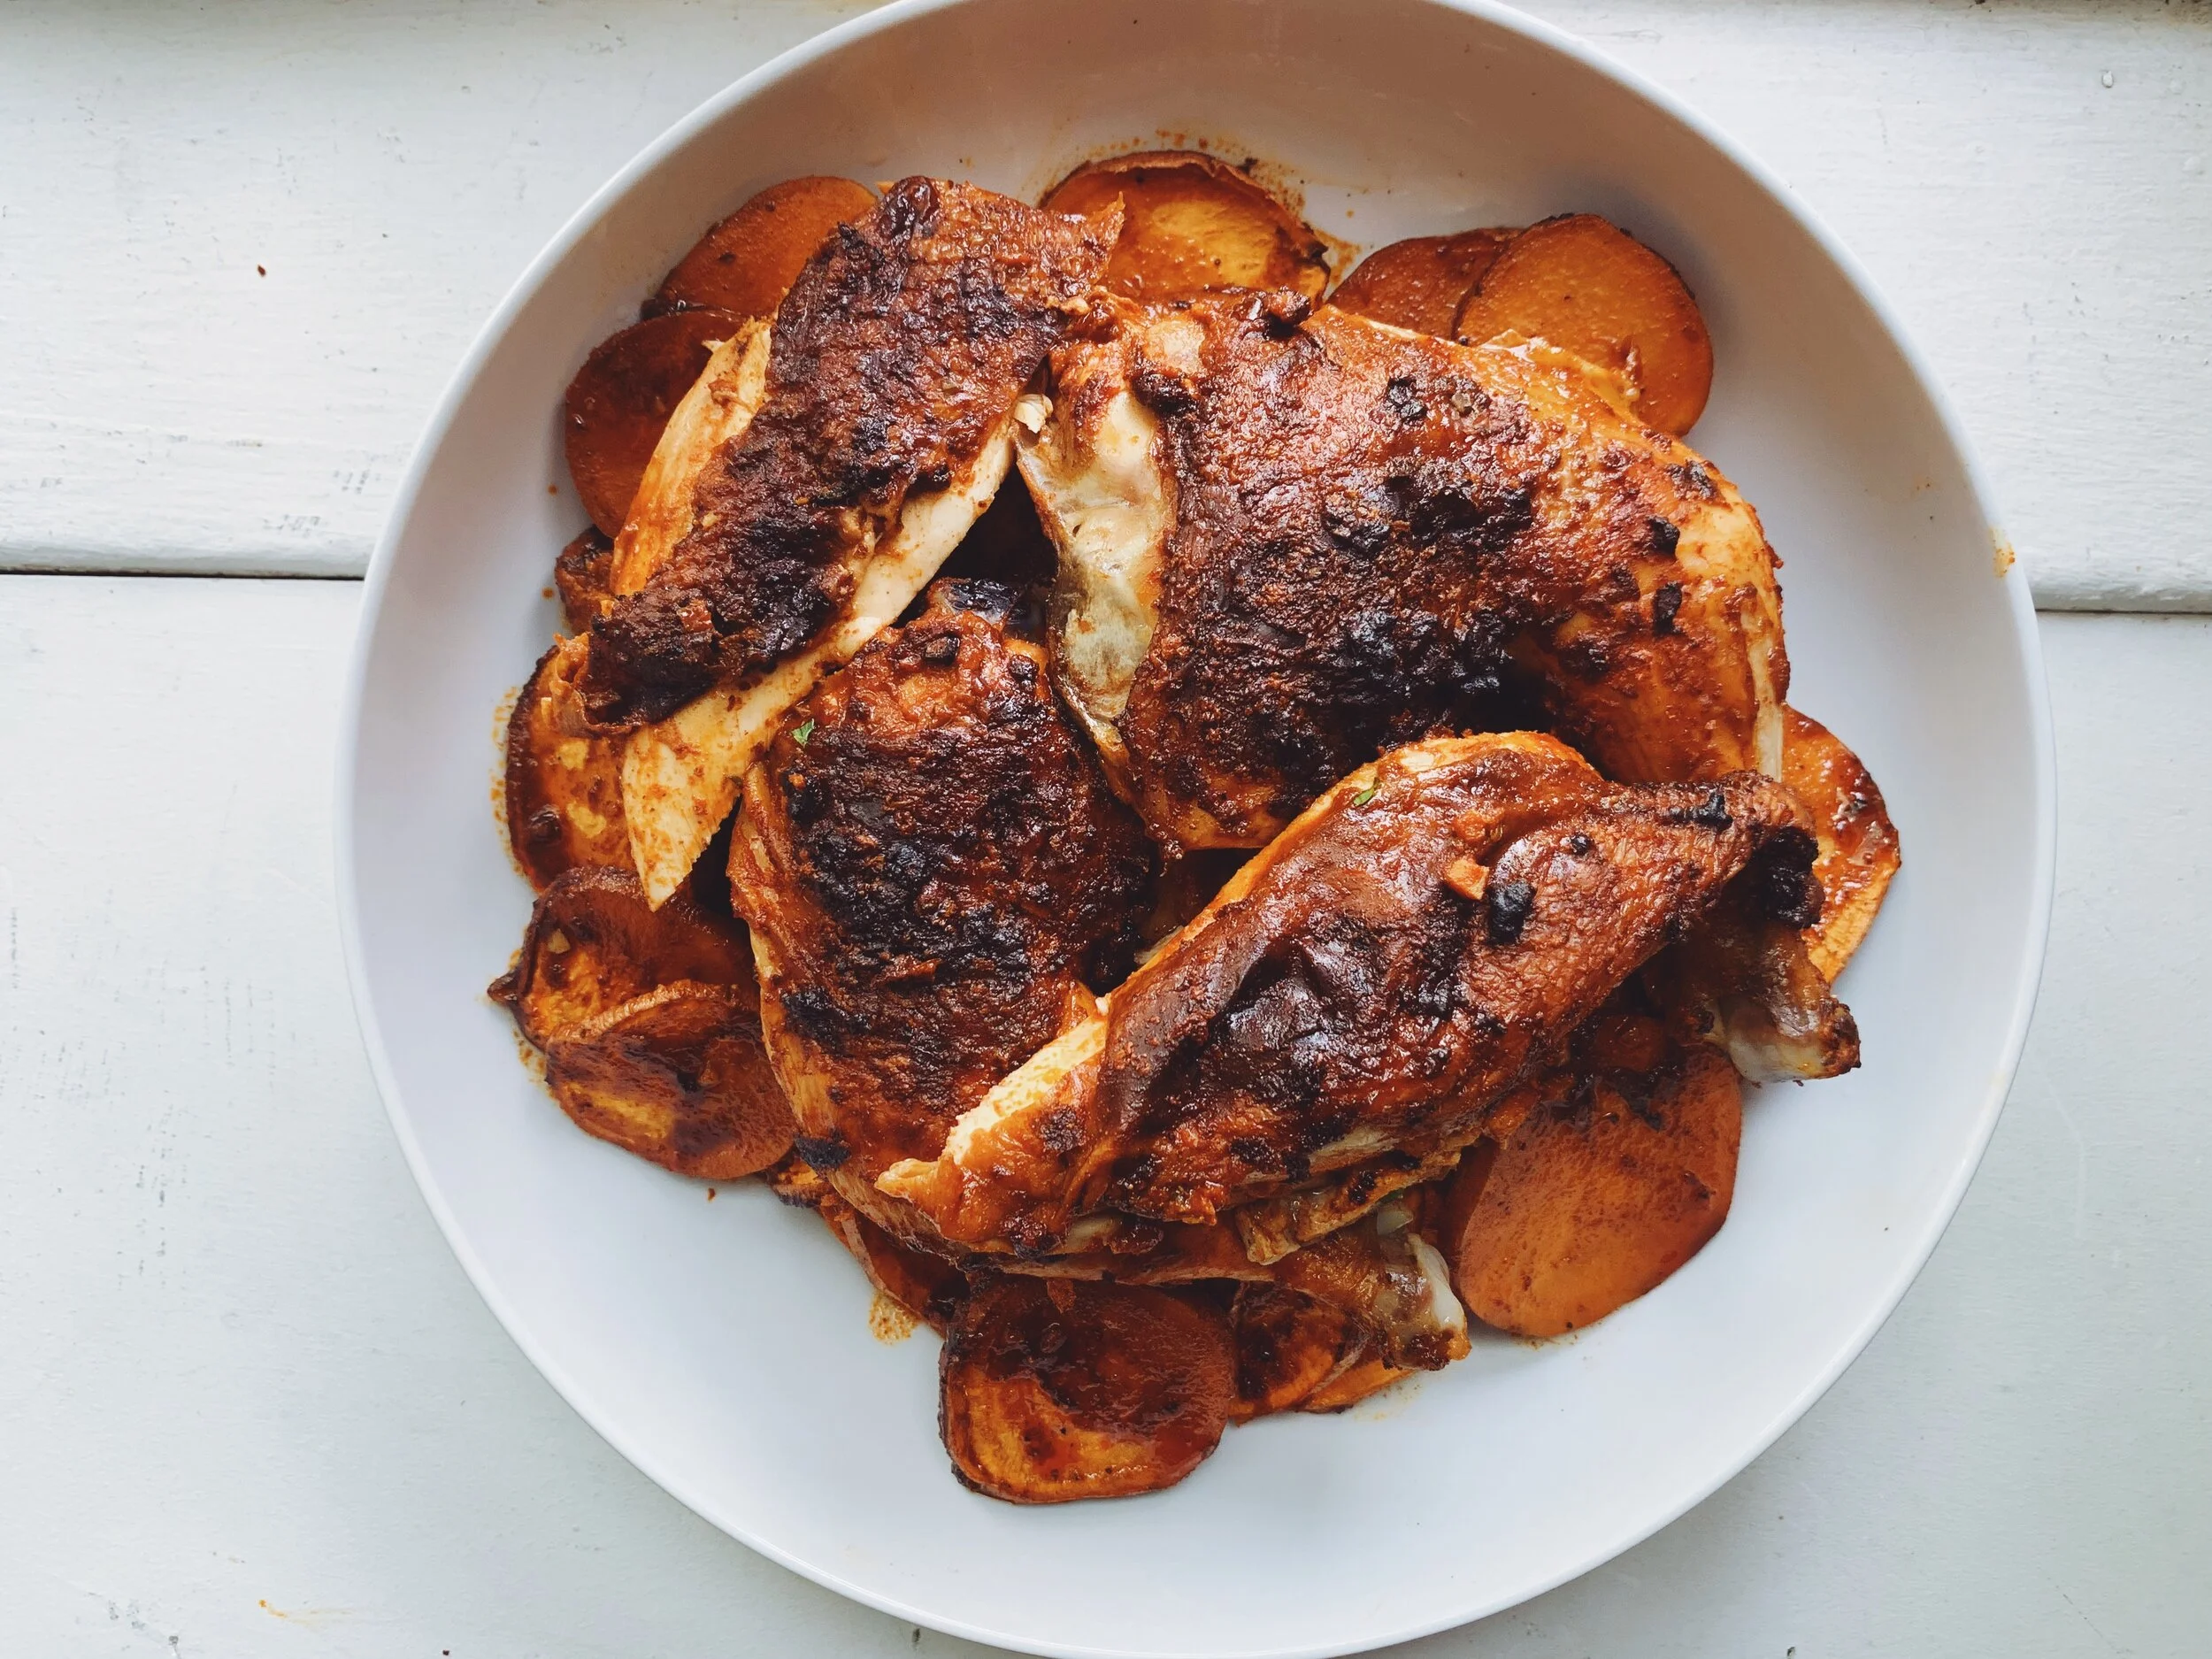
Paprika Chicken with Roasted, Stewed Potatoes and Chimichurri
Ingredients:
Whole chicken
3-4 medium sweet potatoes and/or white potatoes
¼ cup olive oil
½ cup chicken broth
Chimichurri
2 cloves of garlic
1 shallot
1 tbsp red wine vinegar
Juice of 1 lemon
Big handful of parsley, about 1 cup
3 tbsp olive oil
1 tbsp water
½ tsp kosher salt
Optional for serving: arugula or pea shoots.
Method:
Preheat oven to 425F. You’ll need an oven safe baking dish, ideally 13x9 with deep sides.
Mix together your marinade and set aside.
Slice your potatoes into ¾ cm slices - I like to keep the peel on. Place in your baking dish and toss in 2 tbsp of olive oil and a good seasoning of salt and pepper. Shingle along the bottom of the baking dish, not overlapping too much so they cook evenly.
Prepare your chicken. Turn it breast side down onto your cutting board and use kitchen shears or a very sharp chef's knife to remove the spin, by cutting down on either side of the spine. I prefer to use kitchen shears. Turn back over and press down to flatten. This video here shows how to do this (first 1 minute)!
Rub the marinade all over the chicken, lifting the skin and getting the marinade under the skin. Once it’s coated and all of your marinade has been used, place the chicken on top of the prepared potatoes in the dish.
Drizzle the remaining 2 tbsp of olive oil on top of the chicken.
Add ½ cup of chicken broth to the pan, drizzling over the potatoes.
Place into the preheated oven and cook uncovered for 45 mins.
While the chicken is cooking, prep your chimichurri! Place all ingredients in a food processor and pulse until a fine “salsa” appearance. Taste and adjust seasoning if needed!
Once your 45 mins pass, check the internal temperature of the chicken using a meat thermometer, it should be 165F at the thickest part (I like to check both the breast meat and leg meat). If it’s not ready, continue to cook for 15-30 mins longer (timing will depend on how big your chicken is and how cold it was before putting it in the oven!).
Once the chicken reaches temperature, remove it from the oven and allow to sit for 10-15 minutes so the chicken juices to set within. Serve with chimichurri sauce and a handful of arugula or pea shoots!